Setting up Emergency Access
Learn how to set up emergency access for Password Boss items you choose in case of emergencies.
Table of Contents
Setting up Emergency Access is a 2-step process. The first step is inviting a person to be an emergency contact for you. The second step is when your emergency contact requests access to the items you have made available to them.
Note: If your emergency contact has no Password Boss account, we will help them make one. You can have one or many different emergency contacts who can access the same or different items.
Important Notes on Emergency Access
- Both the account owner and the emergency contact need Password Boss accounts.
- You can have one or many emergency contacts on your account.
- Emergency contacts can access your entire account or just selected items.
- Each emergency contact can have access to a different set of items.
- When an emergency contact agrees to act as an emergency contact, an encrypted copy of the items the contact will get access to in the future is placed on the Password Boss server.
- All items in emergency access are encrypted, meaning only the account owner and the emergency contact can access them.
- The emergency contact does not receive access to the items immediately.
-
The emergency contact must first request access to the items by the emergency contact.
- Access to the items will be granted once the waiting period, if any, defined by the account owner expires or if the account owner approves immediate access.
-
You can remove an emergency contact at any time.
- An emergency contact views what they can access in the Emergency section of Password Boss on the People who Trust Me tab.
How to setup emergency access
WebApp
-
Open Password Boss.
- From the left menu, choose and click Emergency
- Select Set up Emergency Access
- The Set-up Emergency Access window will open. Enter the email address for the recipient, waiting period, permission will remain on “Read”
- Click Add and scroll down to see the Added recipient
- Click Next
- Select the profile and choose which account items you want to share in the emergency access invitation.
- Click Save.


- An email will be sent to the emergency contact with the next steps.

- The account owner will receive an email when the emergency access invitation is accepted or declined.
- The 3-dots on the right allow you to “Resend the Invitation, Cancel Emergency Access or Edit”
iOS
- Open Password Boss.
- From the bottom menu, tap More
 .
.
- Tap Emergency.
- Tap the green and white circle

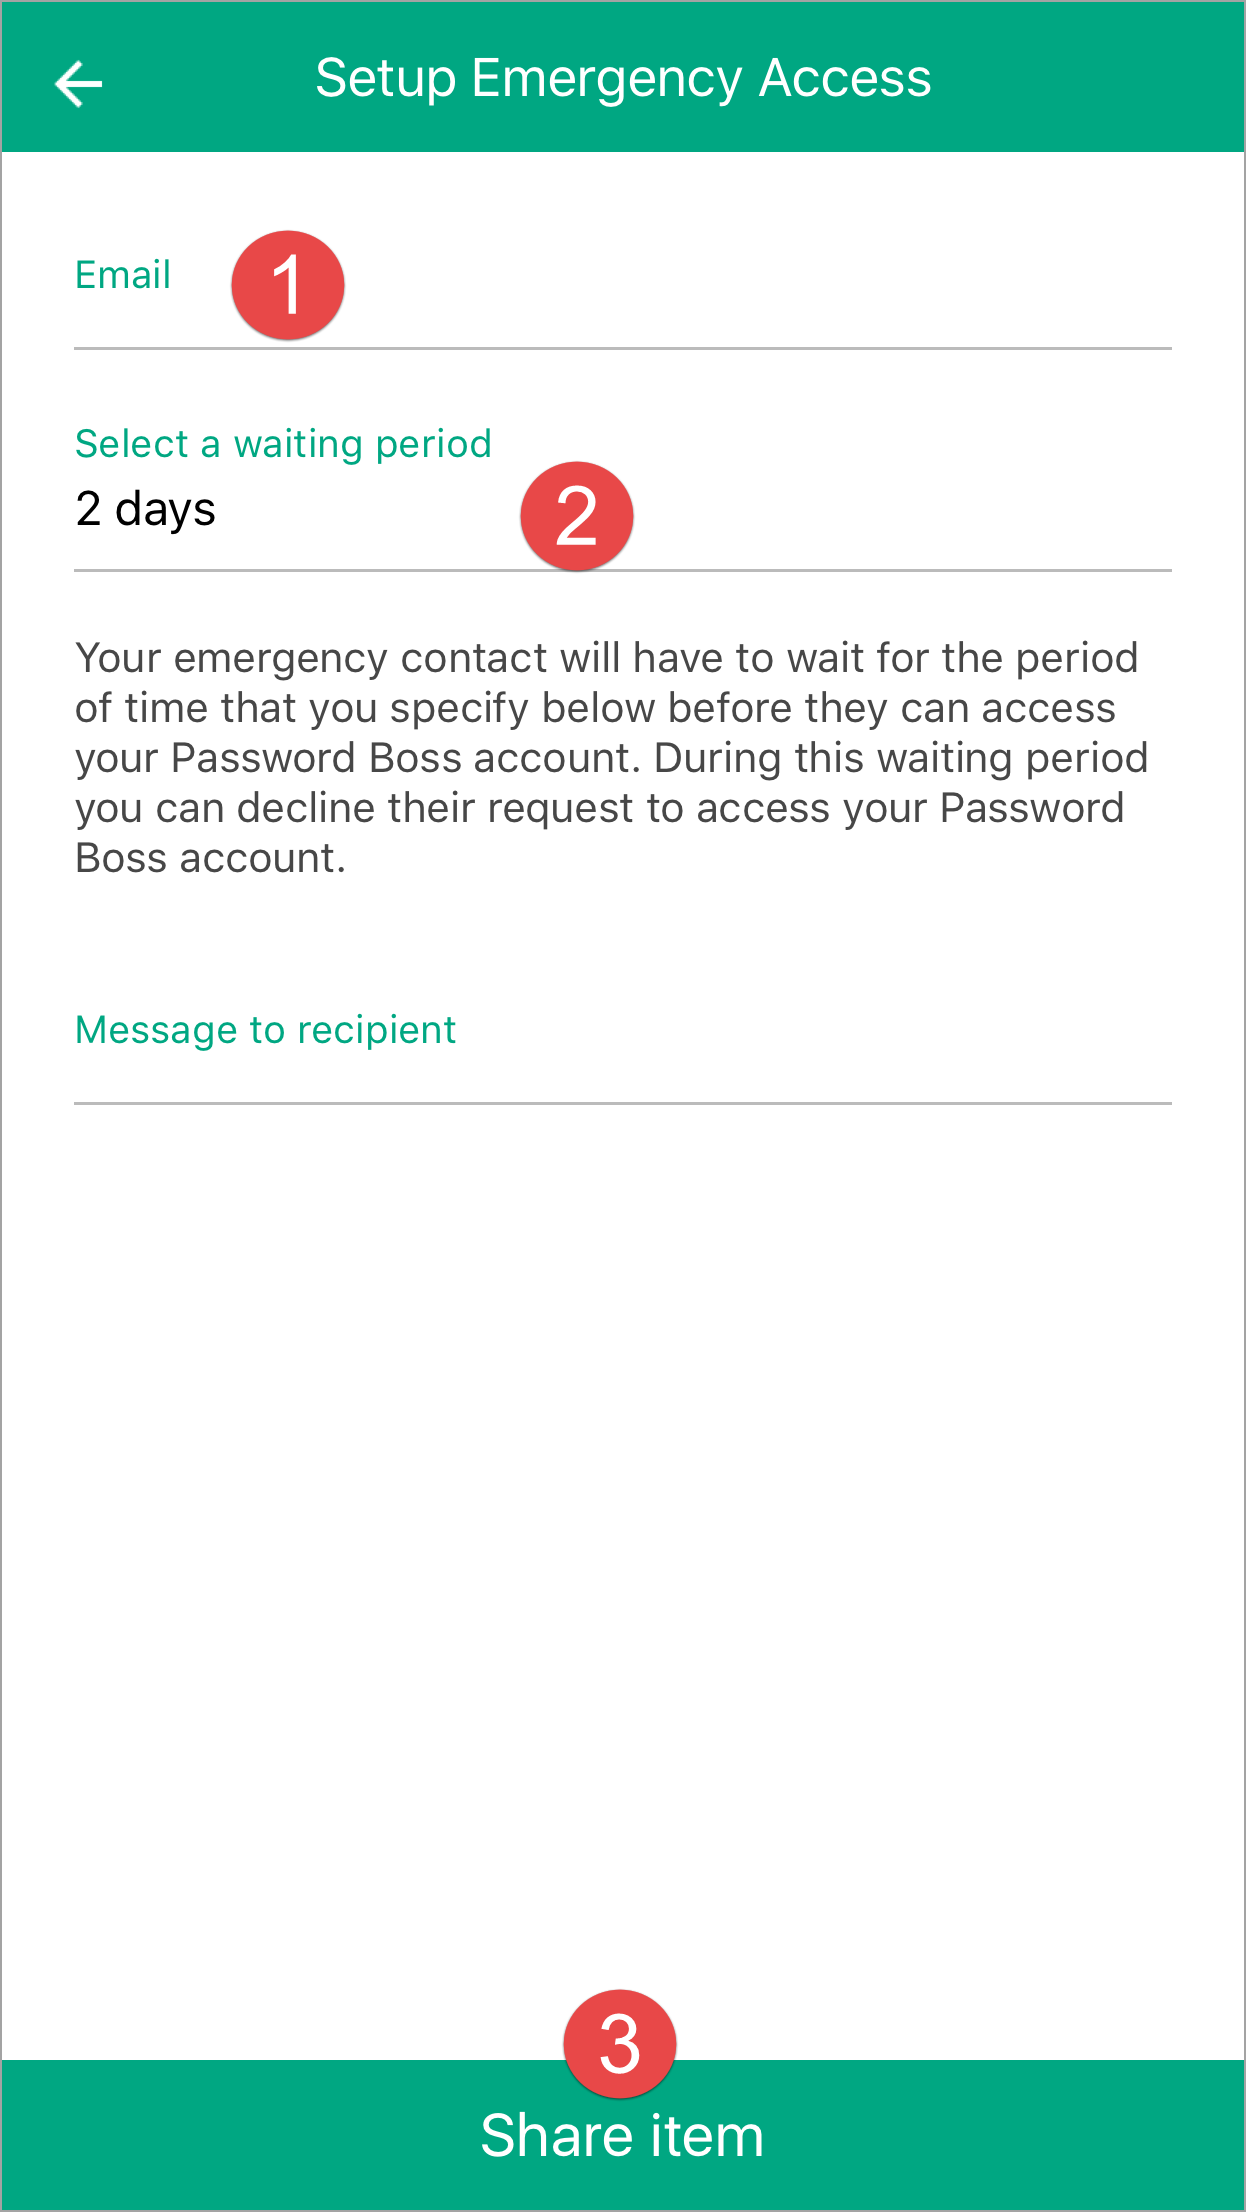
- Tap Individual Items or Entire Account. Tapping Entire Account will open the Setup Emergency Access screen. Tapping Individual Items will the items list - tap the items to include in the emergency access invitation and tap Next
- Enter the emergency contact's email address, select a waiting period, and tap Save.

- An email will be sent to the emergency contact with the next steps.
- The account owner will receive an email when the emergency access invitation is accepted or declined.
Android
- Open Password Boss.
- From the top left, tap the menu icon
 .
.
- Tap Emergency.
- Tap on the orange circle
 .
.
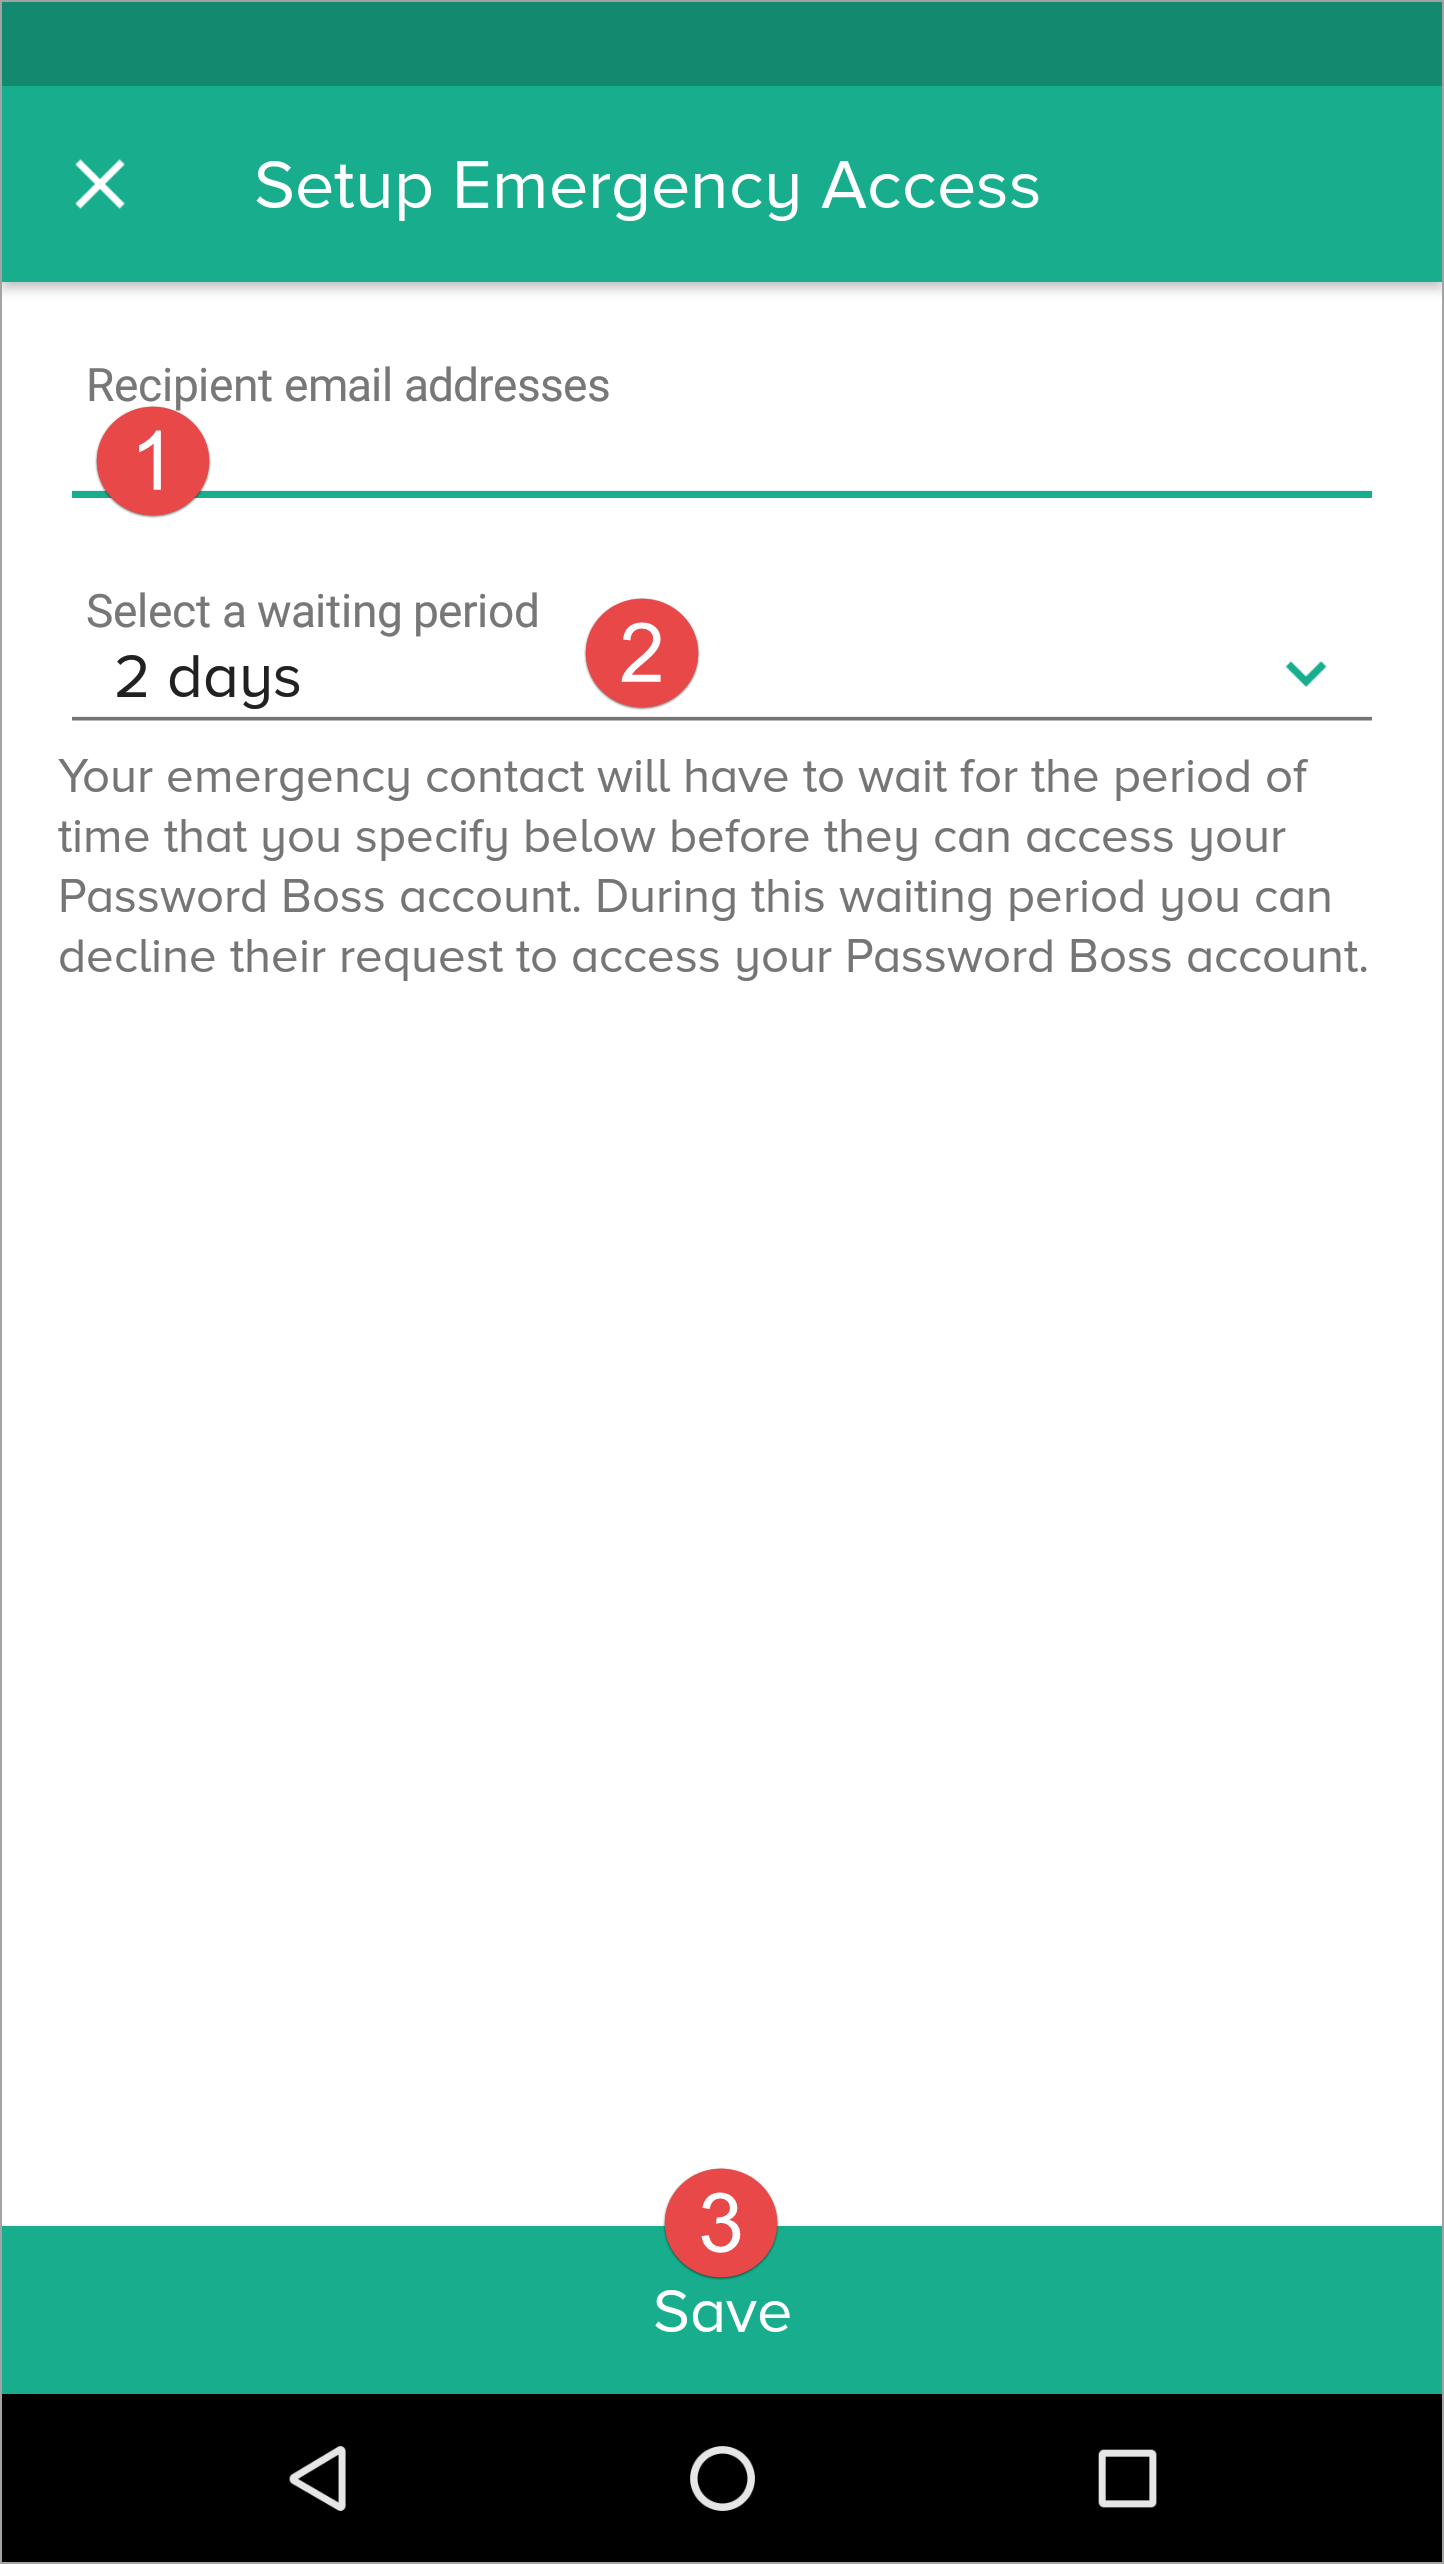
- Tap Individual Items or Entire Account. Tapping Entire Account will open the Setup Emergency Access screen. Tapping Individual Items will the items list - tap the items to include in the emergency access invitation and tap Next
- Enter the emergency contact's email address, select a waiting period, and tap Save.

- An email will be sent to the emergency contact with the next steps.
- The account owner will receive an email when the emergency access invitation is accepted or declined.
Desktop
- Open Password Boss.
- From the left menu, choose Emergency
- Click on the orange circle
 To create a new emergency access invitation.
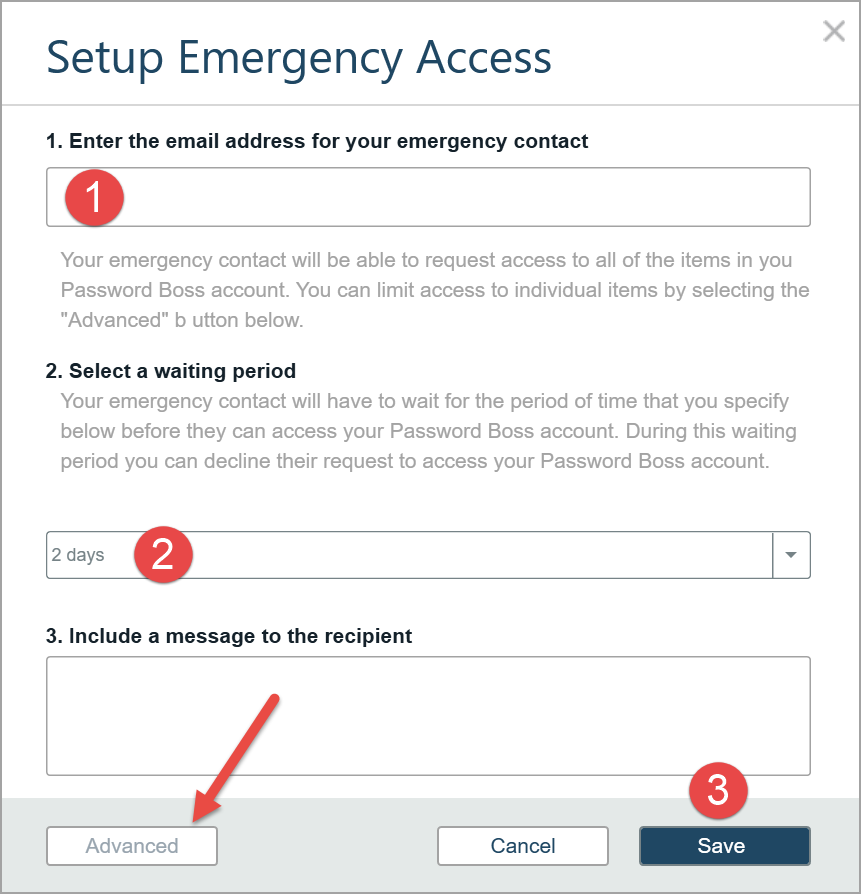
 - The Setup Emergency Access window will open. The default option is to include all of the account items in the emergency access invitation. To change this, click the Advanced button and choose individual items.
- Enter the emergency contact's email address, select a waiting period, and click Save.

- An email will be sent to the emergency contact with the next steps.
- The account owner will receive an email when the emergency access invitation is accepted or declined.
Info: The emergency contact must accept the emergency access invitation to finish the setup.